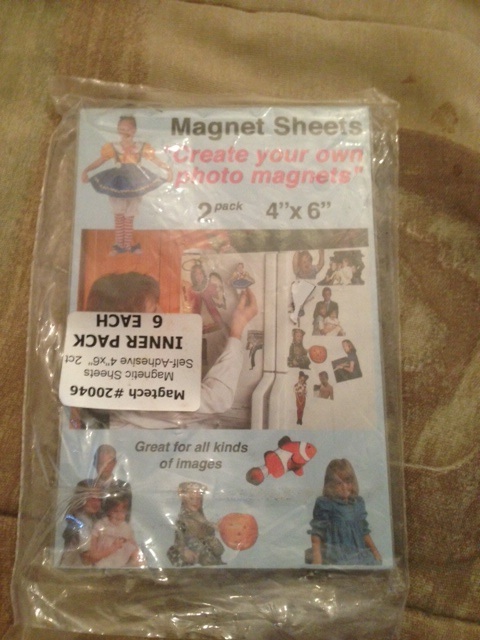
You are going to need a pack of self adhesive magnet sheets (I purchased mine below from cvs) you can also get them at any craft store for sure.

So after you've popped the pannel off of the palette you are going to want to measure out the amount of magnet sheet that you are going to need, and you can just mark off where you will be cutting

After you have measured out the amount of magnet that you will need, then you will want to cut out the extra pieces so that your magnet will fit perfectly into your palette.


So now that you have it all measure and cut out, now its time to peel of the adhesive back so that you can stick it into the palette!

Next you need to place the frame back onto your palette and make sure that it is snapped back into place

Now for the fun part! (Not Really) But you need to measure your eyeshadow pan with the magnet sheet so that you can get a sort of, kind of circle. Then you need to cut that out as best as you can!

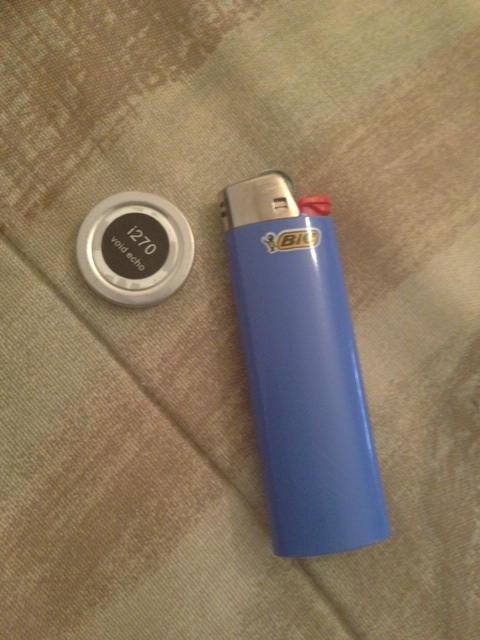
Lastly, what I do is, is just take a lighter and warm the back of the eyeshadow pan in order to get the sticker with the name of the eyeshadow color off easily (you dont have to do this but this is how I like to do it!)

Okay so now all thats left is for you to just pop you magnetized eyeshadow in your magnetized palette and enjoy not having to clean up any broken shadows!

Thats it! I hoped that you guys enjoyed doing this as much as I did and I also hope that this comes in handy for you all!
Thanks
xoxoxo
No comments:
Post a Comment